
How Do You Handle an Emergency Exterior Repair on Site?
Last Updated: November 5, 2026
Quick Summary
An emergency exterior repair is any fault on the outside of a building, its boundaries or grounds that risks harm to people, property or business continuity. Act immediately if damage could injure someone, stop the site operating, or worsen within hours. Protect people first by cordoning off the area, then assess from a safe distance, photograph the damage and call a qualified contractor.
Ask whether the damage could injure someone, stop operations, or worsen within hours.
Keep staff and visitors back and use barriers, cones or tape where safe to do so.
Do not climb onto damaged roofs or approach unstable masonry during assessment.
Keep a written response plan with named decision-makers, out-of-hours contacts and contractors.
Review the response plan every six months and after any real incident.
Table of Contents
What Counts as an Emergency Exterior Repair at a Commercial Property
Office and business park owners often need help with damage that cannot wait until Monday. An emergency exterior repair is any fault on the outside of a building, its boundaries or its grounds that creates a risk to people, property or business continuity. Fallen trees across a footpath, a cracked wall that is shedding masonry, storm-stripped roof tiles above an entrance and a collapsed fence at a car park edge all qualify.
The useful test is simple. Ask whether the damage could injure someone, stop the site from operating, or get worse within hours if left alone. If the answer is yes to any of those, treat it as an emergency and act now.
Many facilities teams find that exterior faults are harder to spot than internal ones. Water ingress through a damaged gutter may only show as a stain on a ceiling days later. Keeping a short written list of likely exterior risks helps your team recognise them quickly.
Step 1: Triage the Damage and Make the Area Safe
The first job is to protect people, not to fix the problem. Keep staff and visitors back from the affected area, and stop vehicles and pedestrians from entering it. Use barriers, cones or tape where you can do so safely.

Next, assess the damage from a safe distance. Note what has failed, how far it extends and whether anything is still moving or falling. Do not climb onto damaged roofs or approach unstable masonry. Take a few photographs at this stage, because they will support any insurance claim later.
Watch out: a make-safe action that leaves a hazard partly exposed can cause more harm than no action at all. If you cannot isolate a risk fully, close the area and call a qualified contractor.
Immediate Make-Safe Actions for Trees, Paths and Boundaries
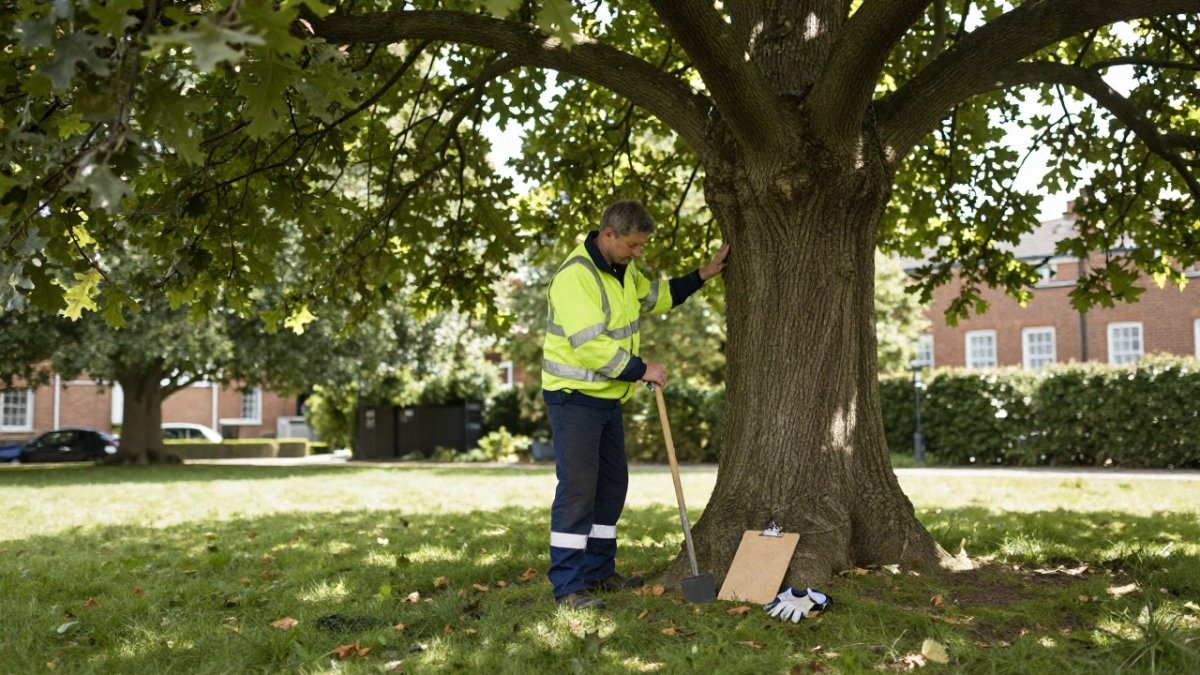
Different exterior assets need different first responses. For a fallen or hanging branch, cordon off the drop zone and keep people clear of the canopy until a qualified arborist has assessed it. For a damaged path with trip or collapse risks, mark the hazard with high-visibility barriers and redirect foot traffic. For a leaning or breached boundary fence or wall, keep the line clear and prevent access to the gap.
These actions buy time. They do not replace a proper repair, so record exactly what you did and when.
Building Your Emergency Repair Response Plan
A written response plan turns a stressful incident into a set of known steps. Keep it short enough to read in a crisis and store copies where your duty staff can reach them.
A workable plan lists the following:
The name and direct number of the person who makes the first decision on site
Your out-of-hours emergency contact, with a backup
The contractor you call for each type of exterior fault
The location of isolation points, access routes and site plans
A template for logging the incident
Review the plan every six months and after any real incident. Contact details go stale quickly, and a plan that names someone who has left the business is of little use.
Prioritising Urgent Repairs by Severity Level
Not every emergency needs the same speed of response, and treating every call-out as critical is as damaging as treating none of them as critical. A workable severity scale lets your duty staff decide what to act on first, what to make safe and monitor, and what can wait for a scheduled visit.
Severity | Typical exterior examples | First action | Target response |
Critical (life-safety) | Falling masonry or cladding, a live cable exposed outdoors, a tree resting on a structure or service, a collapsed wall or boundary at a public route | Cordon and evacuate the immediate area, call the emergency services where there is a risk to life, then dispatch a contractor | Immediate attendance; make safe the same day |
High (urgent damage) | Storm-stripped roof covering above an entrance, water pouring through a failed gutter or downpipe into the building, a fallen tree blocking a fire escape or access road, a breached perimeter fence at a public edge | Isolate the area, stop water or power where it is safe to do so, dispatch a contractor | Attendance within hours; make safe the same working day |
Medium (same-day) | Blocked drain causing standing water on a path, a breached fence on a low-risk boundary, damaged signage or lighting bollards, minor surface cracking | Barrier and monitor, book a contractor | Same working day or next working day |
Low (scheduled) | Loose signage away from walkways, cosmetic cracking, a single slipped tile on a low roof | Log and schedule | Within a week, or folded into the next planned visit |
The judgement call is the boundary between Critical and High. First, is there a credible route for the defect to injure someone, a public footpath, a fire escape, a staff entrance, a car park edge? Second, can the defect get materially worse within the next few hours, for example because rain is forecast, the wind is still rising, or the element is still moving? Third, does the defect stop the site operating, an access road blocked, a building entrance unusable, a service isolated?
Escalate rather than de-escalate when you are unsure. The cost of an unnecessary cordon is a few hours of inconvenience; the cost of an under-called masonry defect is a serious incident and a reportable one. Record the severity you assigned, the reason, and who made the call, because that record is what shows a proportionate response if the incident is later reviewed by an insurer or an enforcing authority.
Adjust the thresholds to suit the site rather than copying them wholesale. A business park with public access, deliveries and out-of-hours pedestrians needs a stricter Critical boundary than a private office campus with controlled entry. Sites with vulnerable occupants, or with a history of the same defect recurring, should sit one level higher than the table suggests. Review the scale after every real incident: if a defect you classed as Medium turned into a High, the threshold was wrong, not the incident.
Documenting the Incident and Briefing Your Contractor
Good records do two jobs: they protect the business if the incident is later disputed, and they shorten the repair by giving the contractor the facts in the order they need them. Most facilities teams already keep some record, but the gap is usually in the sequence and the closeout, not in the existence of a log.
Run the record in five stages, and keep them in one place, a shared incident log or a numbered work-order file, so the story is continuous from first report to final sign-off.
Report. Log the time the fault was reported, who reported it and how, the exact location (building, elevation, grid reference or what3words where the site uses it), and a one-line description. Note the weather at the time, because wind and rainfall are the first questions an insurer or a contractor will ask about an exterior defect.
Assessment and make-safe. Record the severity you assigned and why, the make-safe actions taken and by whom, the barriers or isolations put in place, and photographs taken before and after the make-safe. Photograph from a safe distance; do not put anyone on a damaged roof or near unstable masonry to get a better shot.
Dispatch. Record the contractor called, the time of the call, the brief given, the attendance time promised and the authorisation limit you gave them. If the call-out agreement has a pre-agreed spend limit, note it here so there is no argument later about what was approved.
Repair. Record the contractor's findings, the temporary versus permanent works carried out, materials used, and any residual risk or area left closed. Keep the contractor's own paperwork with your log rather than in a separate file.
Closeout. Record the final inspection, who signed the area back into use, the date, and any follow-up works scheduled. Close the log only when the area is genuinely back in service, not when the contractor leaves site.
When you brief the contractor, give the facts in a fixed order: what failed, where exactly, what risks remain, what you have already done, which areas must stay closed, and what authorisation they have. Clear facts at the start of the call save time on site and reduce the chance of a contractor arriving without the right equipment.
Notify your insurer early rather than at the end. Most commercial property policies expect prompt notification of damage that may lead to a claim, and exterior storm or impact damage is a common trigger.
Finish with a short post-incident review, even for a minor event. Ask three questions: did the severity call match what actually happened, did the contractor attend within the promised time, and was the defect one that planned maintenance should have caught? The answers feed straight back into your response plan and your planned maintenance schedule, which is how a single incident stops becoming a recurring one.
Reactive Facilities Management and Planned Maintenance Working Together
Emergency response works best when it sits alongside planned work. Reactive repairs fix what has just failed. Planned maintenance, such as scheduled tree inspections, gutter clearing and surface checks, finds problems before they become emergencies.
A common mistake is to treat these as separate budgets run by separate people. When one contractor or one team holds both the planned schedule and the emergency call-out, they see patterns, such as the same gutter failing each winter, and can recommend a permanent fix. That is usually cheaper than repeated emergency visits.
Booking Your Grounds Maintenance Contract for Faster Response
If your site has no agreed emergency arrangement, a grounds maintenance contract can close that gap. Pemigogardens works only with private offices and business parks, and we focus on regular maintenance contracts. Regular site visits throughout the year help keep your site's grounds under review.
Before you sign any contract, check how emergency call-outs are handled and what is committed in writing. Pricing depends on site size, visit frequency and scope, so please request a tailored quote from Pemigogardens for current figures rather than relying on estimates.
If you are reviewing your current arrangements, our guide on signs you need a new grounds maintenance contractor sets out the warning signs to look for.
Frequently Asked Questions
What counts as an emergency exterior repair at a commercial property?
An emergency exterior repair is any fault that creates an immediate risk to people, vehicles or the building itself. Examples include a fallen branch over a walkway, a collapsed boundary wall, a damaged roof edge that could shed material, or a cracked paving slab that creates a trip hazard. Routine wear, such as a faded sign or minor weeding, is not an emergency and can go into the planned schedule. If you are unsure, treat the fault as urgent, cordon the area and call your contractor for an assessment. Pricing depends on the job, so request a quote from Pemigogardens directly.
What should a facility manager do first when exterior damage is reported?
Confirm the location and nature of the damage, then make the area safe. Cordon off the hazard with barriers or cones, keep people and vehicles clear, and note the time and weather conditions. Do not attempt structural repairs yourself. Once the area is secured, contact your emergency maintenance provider and give them the location, a description of the damage and any access constraints. Record everything in your incident log before the situation changes.
How should facility managers prioritise urgent exterior repairs?
Rank faults by severity. Priority one covers anything that is a live risk to life or property, such as falling debris or structural instability. Priority two covers damage that affects access or business operations, such as a blocked entrance path. Priority three covers faults that can wait a few days without worsening, such as minor surface cracks. Use the same three levels every time so your contractor and your team understand urgency without debate.
Comments